

Autumn Apple Pie
Time for fall-ling in LOVE
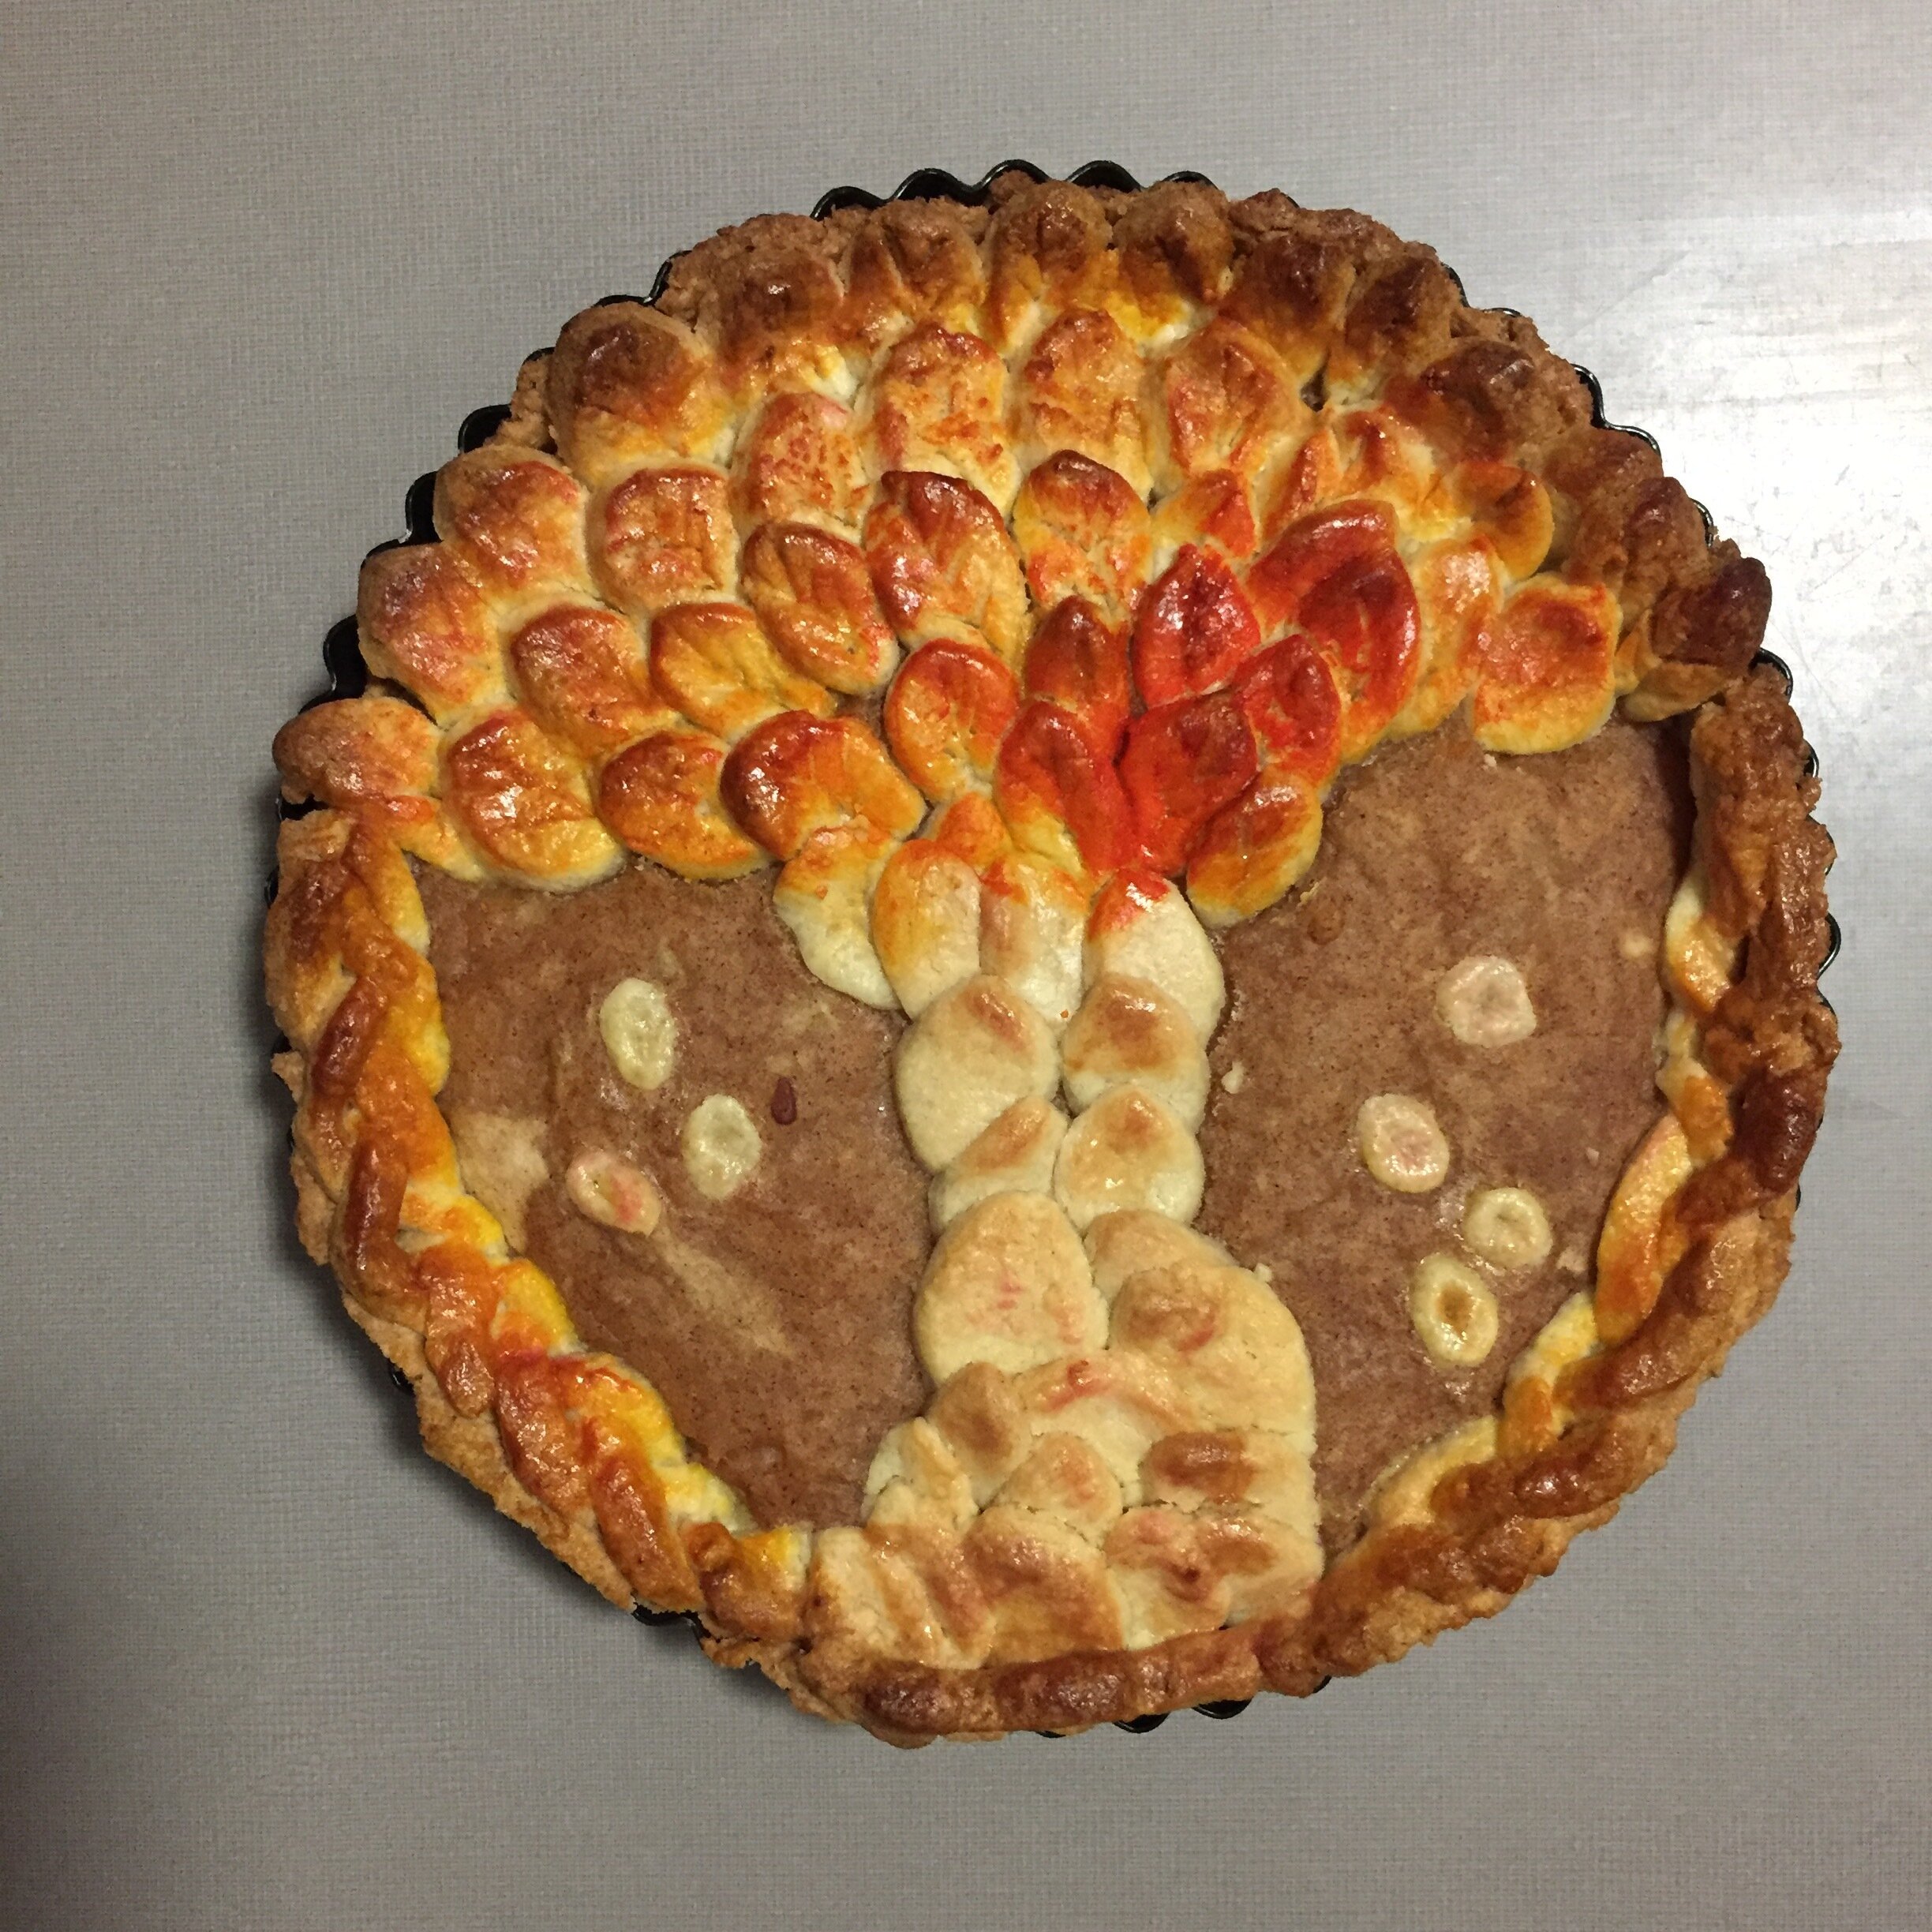
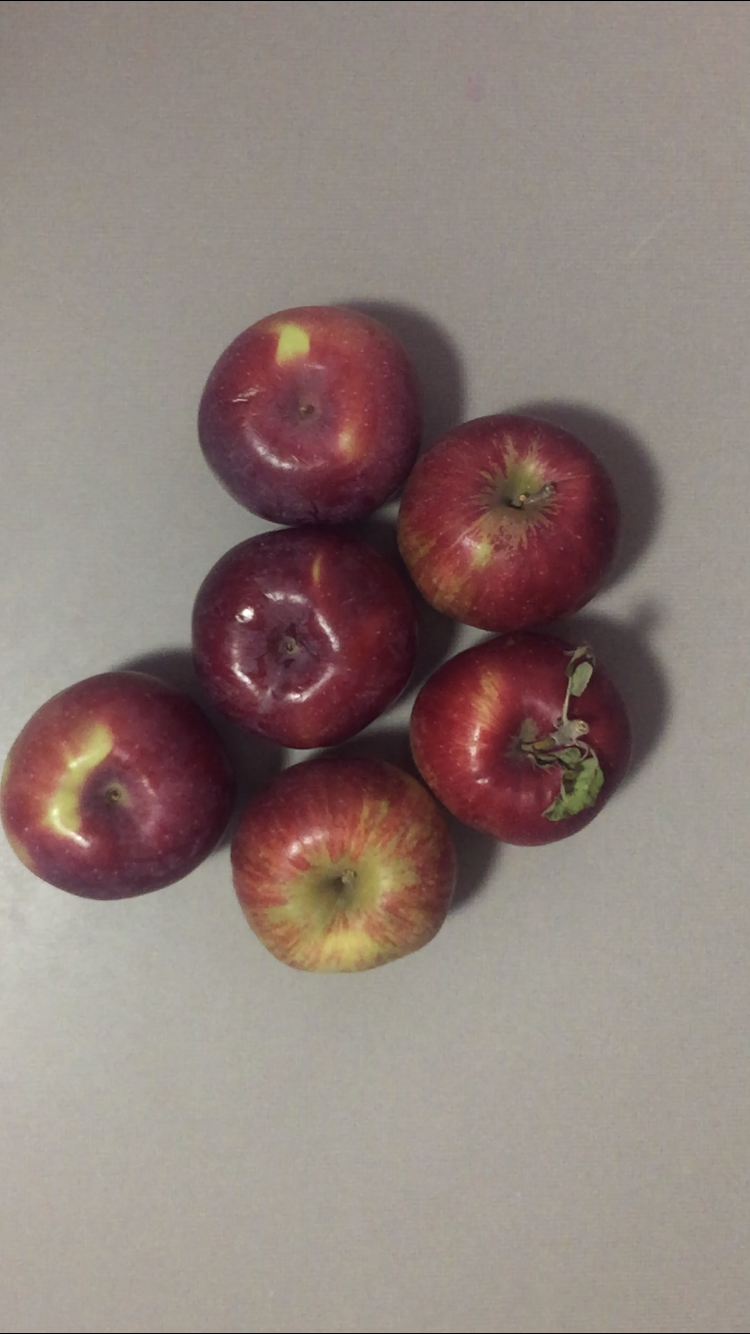
Someone gave me some apples from their trip to Michigan, they were hand picked which makes it even more handmade! Normally I would just get apples from the supermarket, the internet suggests Granny Smith, for a crisp bitter flavour that would pair nicely with the cinnamon you will be adding. The pastry recipe is from my mother in law and works really well! I made the leaves really easily as well, by using the big part of a piping nozzle and making pointy oval shapes, and then making the details with a knife. I would suggest getting a fondant cutter for more leaf like shapes, if you wanted to.
Ingredients
6x medium apples (type is up to you, Granny Smith or Pink Lady are my favourite)
2 tbsp ground cinnamon
500ml water
3 tsp ground ginger
200g plain flour
100g butter cubed (or shortening)
75g caster sugar
1 egg (can also be done eggless, just add cold water slowly to bring it together)
some grated fresh ginger (optional)
A 9” fluted tart tin or any pie dish you want
yellow and red food colouring + 1 egg + 1 paint brush/pastry brush
Method
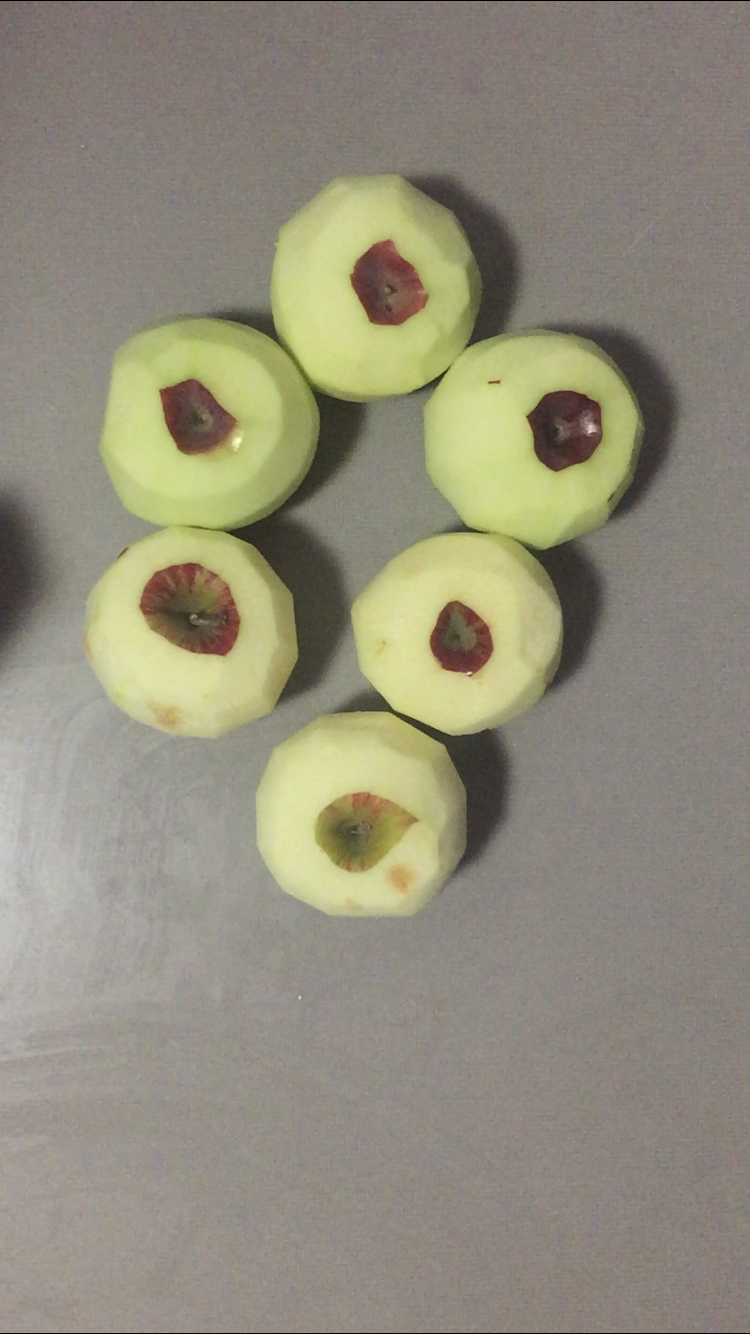
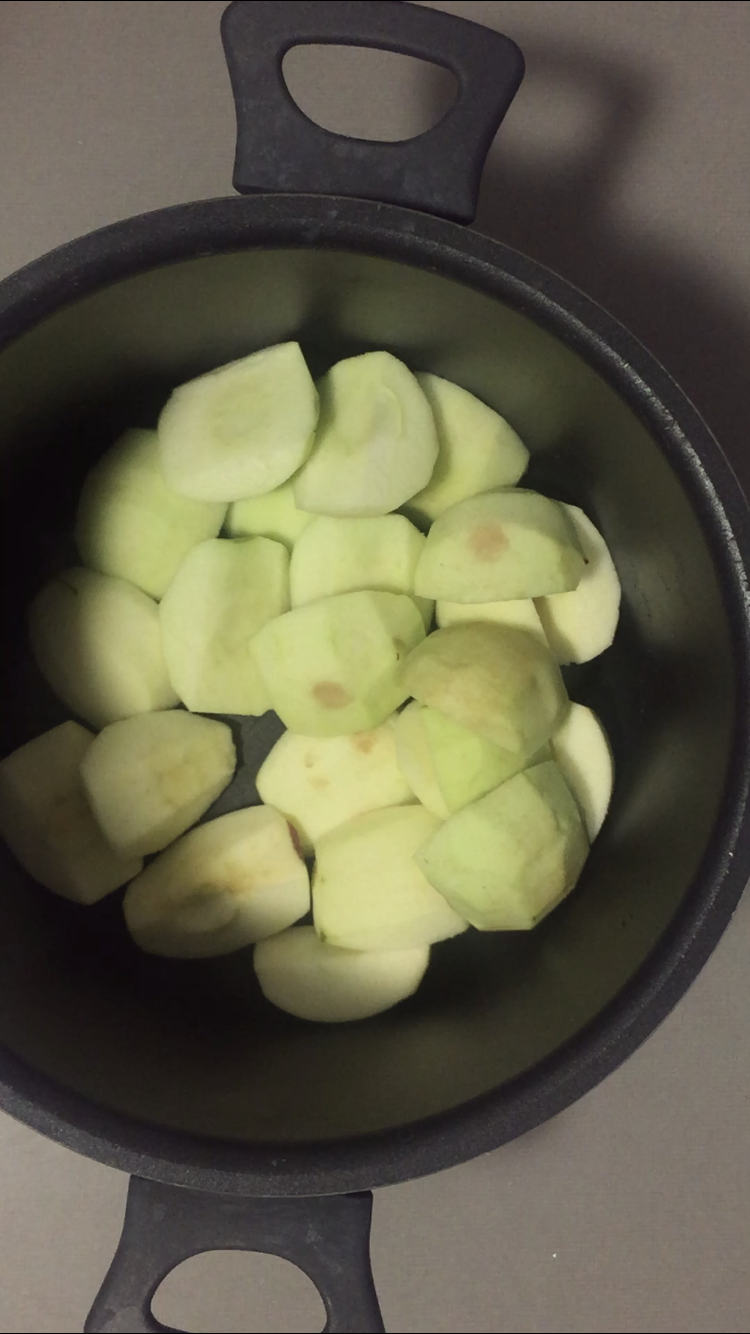
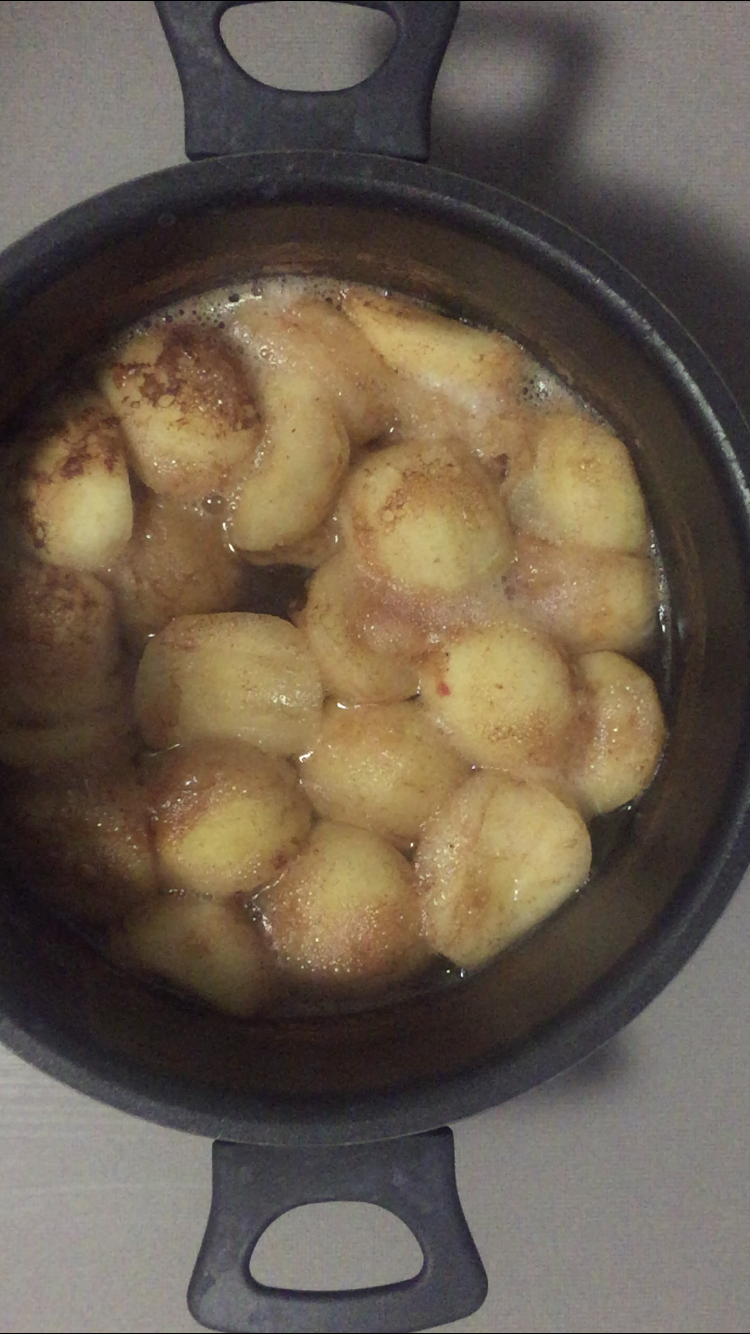
Peel your apples. Cut into quarters, cut out the cores, put into a large pan with 500ml of water, and 3 tbsp of cinnamon. Boil until the apples are soft, and pour the water out. Mash using a potato masher, and add 3 tsp of ginger. Set this to the side. Feel free to add more cinnamon or ginger to taste.
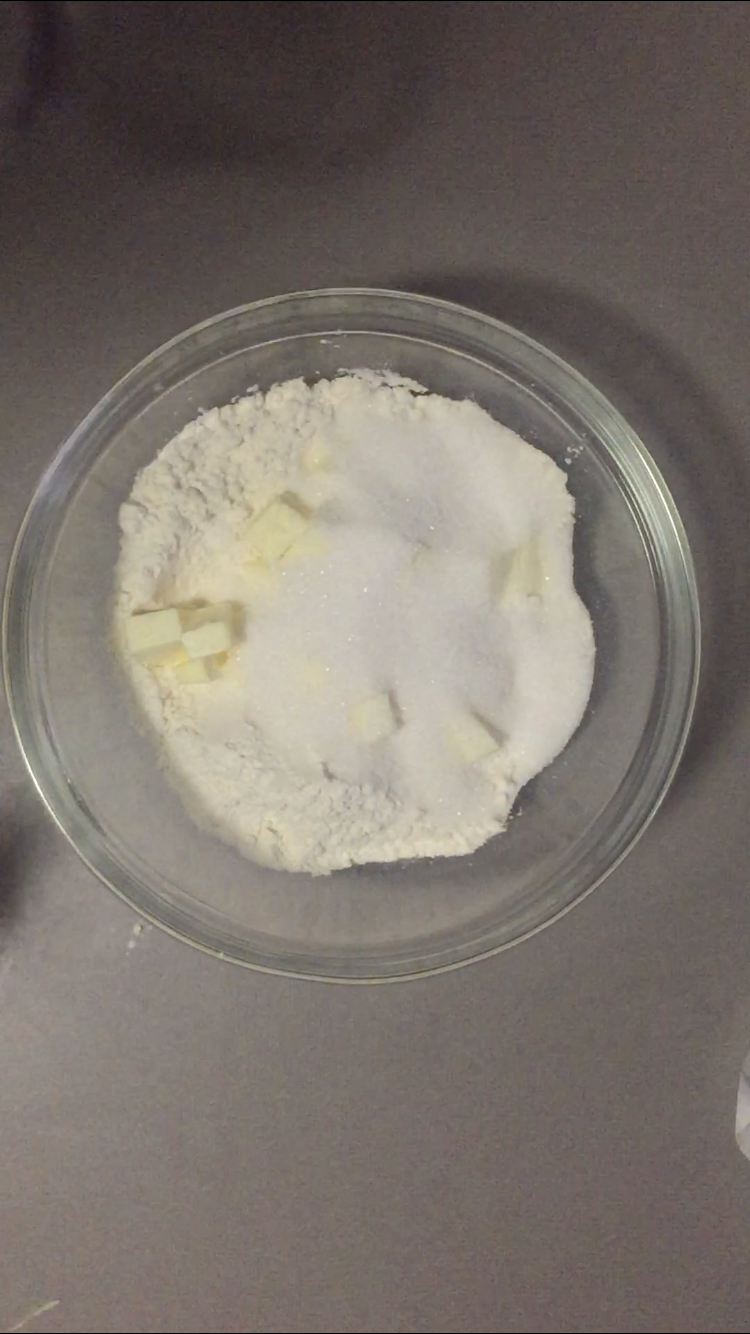
For the pastry, try not to handle it too much. In the bowl, add the flour, butter, sugar and if you want to be fancy, grate some fresh ginger in there too. Use a knife to ‘cut’ the butter through the mixture till it makes breadcrumbs. Alternatively use a food processor. Add the egg and mix together until it forms a loose dough. Pop into the fridge for 20-30 minutes.
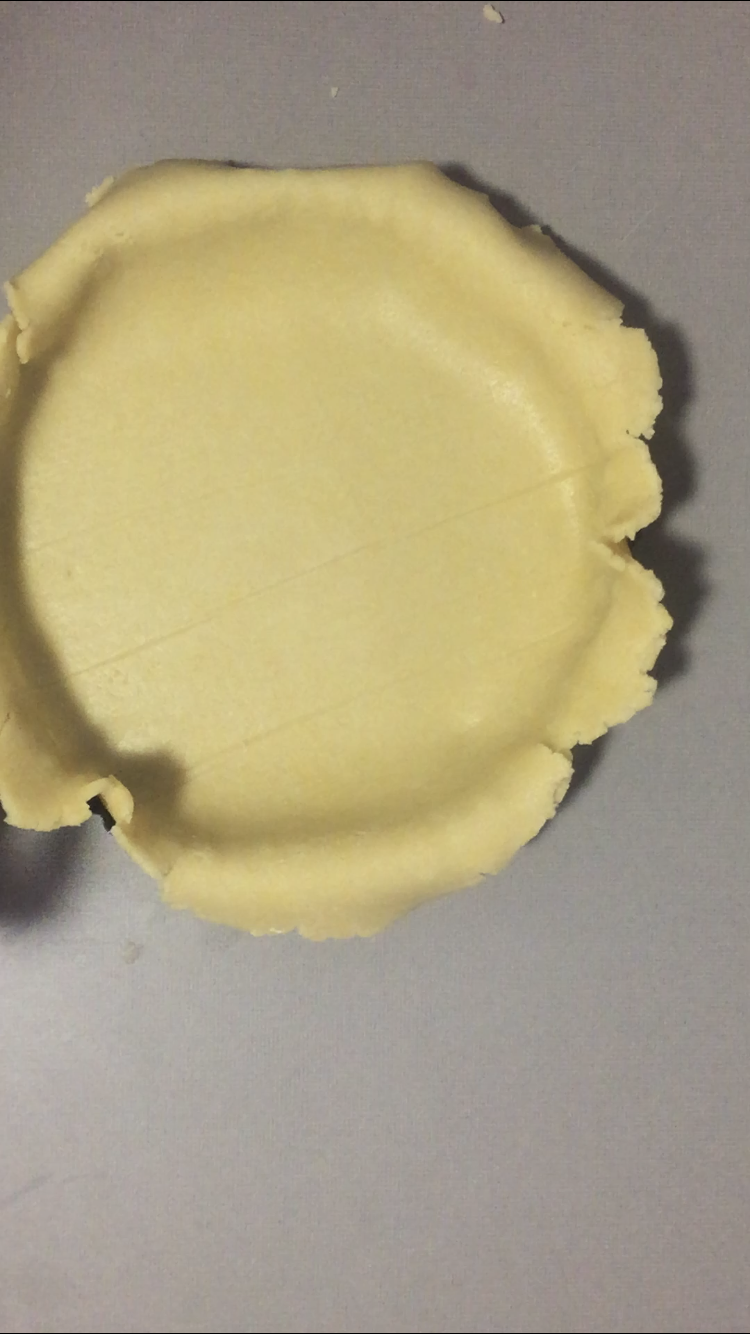
Once the pastry has chilled, take it out and roll it flat to about 5mm thick. You’ll want to make sure it covers the surface area of your pie dish, so use that as a guide. It makes it much easier to roll it on parchment paper so you can lift it easier when it comes to putting into the dish. Put it on the dish and press into any creases/fluting around the edge. Cut off the excess a little bit above the rim as the baking will make it shrink slightly. It doesn't matter if the edge isn’t smooth, you’ll be decorating over it.


Keep the excess pastry to the side. If you don’t have any, repeat the pastry part again to make more- you can half the recipe if you don’t need much. For the egg, use a fork to break the yolk and whip it up slightly, and pour half of it in.
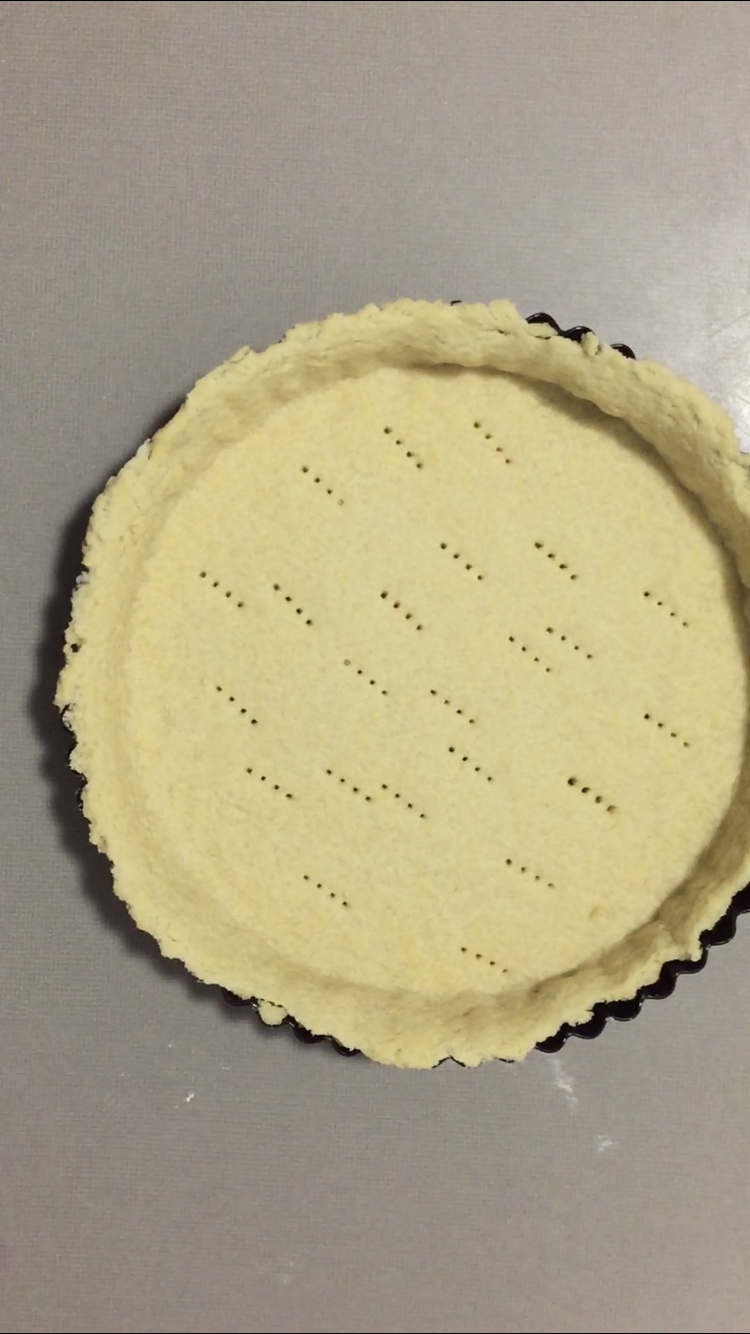
Now bake in the oven at 180c/350f/gas 4 for 10 minutes to “blind bake.” Use a fork to put prick marks in the base to help evenly bake it.
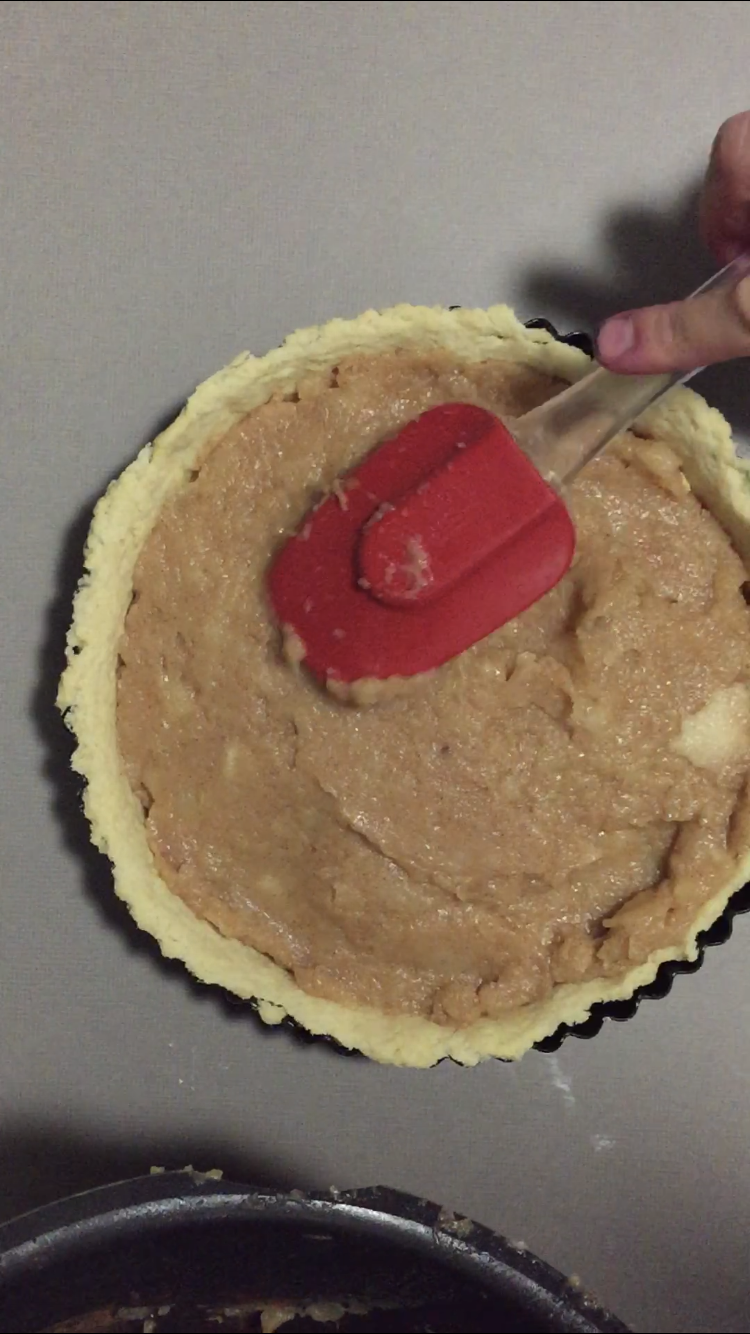
Once it has been blind baked, scoop in your filling and smooth it flat. Pop this to the side. Make your leaves by rolling the excess pastry flat to 5mm and cut out leaf shapes. I did this by cutting out a circle using the big end of a piping nozzle, then shaping into an oval. You can free cut them if you wish, or use a fondant leaf cutter if you have them. To make the braid, cut long strips of the pastry (cut them with a pizza cutter as this makes a smoother edge) and braid them.
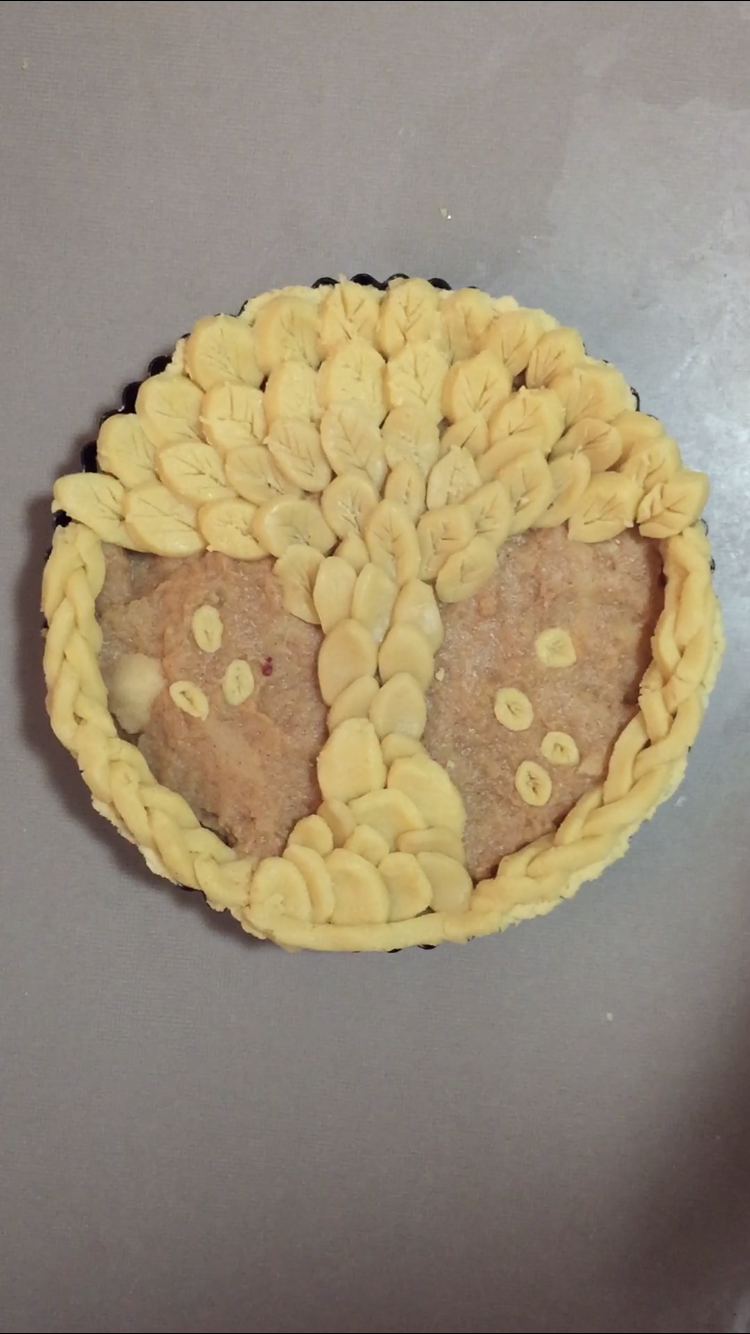
Place onto the filling however you wish, I decided to make mine into a free with leaves falling off, because autumn. You can chill this over night, or put straight into the oven at 180c/350f/gas 4 for 20 minutes. Take it out and using one beaten egg and a pastry brush (for vegan version, 3 tbsp of vegan milk + 2 tsp sugar for the glaze works too) and paint over your decoration. The leaves can then be “painted” by using the egg wash/vegan glaze with some yellow/red food colouring in. Be as creative as you wish with the colours. Paint on and bake for another 20 minutes to crisp up the pastry topping.
Leave to cool slightly, slice, and enjoy!


See you soon
Colin
x